Introduction
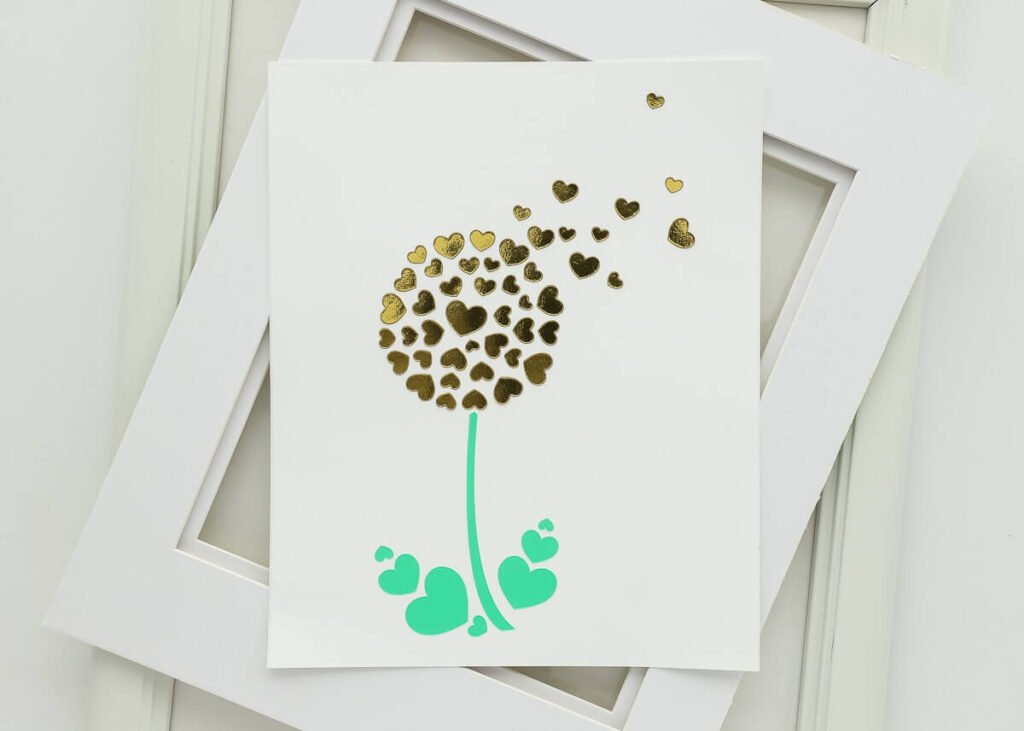
Adding custom wall art to your home is a fantastic way to express your personal style and creativity. With a Cricut machine, you can design and craft unique pieces that perfectly match your decor and aesthetic. In this guide, we’ll walk you through the steps to create stunning wall art that will make your space feel truly special.
Materials You’ll Need
- Cricut machine: Preferably the Cricut Maker or Cricut Explore series.
- Vinyl: Permanent vinyl for creating wall decals.
- Transfer tape: For applying the vinyl designs.
- Canvas or wood panels: For mounting your designs.
- Paint and brushes: Optional, for background or additional designs.
- Cricut Design Space: Cricut’s design software, available on desktop and mobile devices.
Steps to Create Custom Wall Art
Step 1: Design Your Art in Cricut Design Space
- Open Cricut Design Space: Start a new project and use the design tools to create your custom wall art. You can use text, images, or a combination of both.
- Choose Your Dimensions: Measure the area where you plan to hang your art and adjust the dimensions of your design accordingly.
- Finalize Your Design: Make any necessary adjustments to ensure your design is perfect.
Step 2: Prepare Your Materials
- Select Your Vinyl: Choose vinyl colors that match your design and home decor.
- Cut Your Vinyl: Load the vinyl into your Cricut machine and cut your design.
Step 3: Apply the Vinyl to Your Surface
- Weed the Vinyl: Remove the excess vinyl from your cut design using weeding tools.
- Use Transfer Tape: Apply transfer tape to your vinyl design to easily transfer it to your canvas or wood panel.
- Position Your Design: Carefully position your design on the surface and apply it smoothly, ensuring there are no bubbles.
Step 4: Add Finishing Touches
- Paint the Background: If desired, paint the canvas or wood panel before applying the vinyl to add depth and dimension to your art.
- Seal Your Design: Use a clear sealant to protect your vinyl design and ensure it lasts.
Step 5: Display Your Custom Wall Art
- Hang Your Art: Choose the perfect spot in your home to display your new custom wall art.
- Admire Your Work: Enjoy the personalized touch you’ve added to your home decor.
Tips for Success
- Test Your Design: Use scrap vinyl to test your design before cutting the final piece.
- Smooth Application: Use a scraper tool to ensure the vinyl adheres smoothly to the surface without any bubbles.
- Experiment with Colors: Don’t be afraid to mix and match colors to create a vibrant piece of art.
Conclusion
Creating custom wall art with your Cricut machine is a wonderful way to add a personal touch to your home decor. With a few simple materials and a bit of creativity, you can craft beautiful pieces that reflect your style and enhance your living space. For more project ideas and high-quality SVG files, visit SVGKingdom.com and SVGBundle.net. Happy crafting!
FAQs
1. Can I use removable vinyl for wall art?
Yes, removable vinyl is a great option for temporary designs and can be easily removed without damaging your walls.
2. What type of paint works best on canvas for this project?
Acrylic paint is ideal for canvas projects as it dries quickly and provides a smooth finish.
3. How do I ensure my vinyl design adheres well to the surface?
Make sure the surface is clean and smooth before applying the vinyl. Use a scraper tool to press the vinyl firmly and eliminate any air bubbles.
4. Can I create multi-colored designs with vinyl?
Yes, you can layer different colors of vinyl to create a multi-colored design. Cut each color separately and layer them carefully.
5. Where can I find more design ideas and inspiration?
For more inspiration and tutorials, check out the official Cricut blog and YouTube channel. Additionally, SVGKingdom.com and SVGBundle.net offer a wide range of SVG designs to enhance your crafting projects.
Sources
For more inspiration and tutorials, check out these external links:

