
Introduction
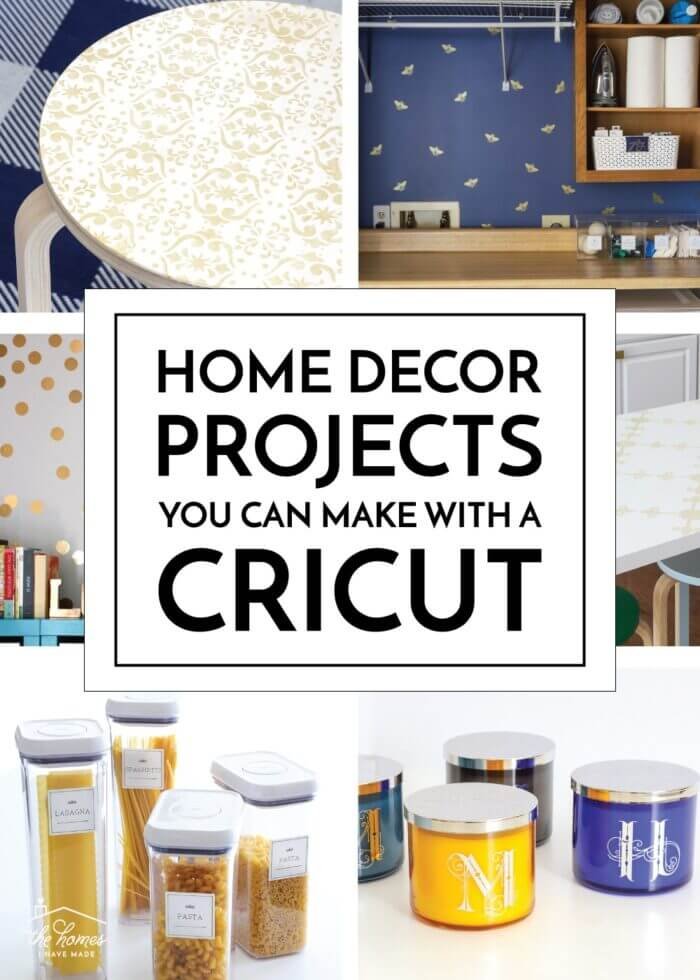
A well-organized craft room can significantly enhance your creativity and efficiency. With the help of your Cricut machine, you can create custom storage solutions and labels that make it easy to keep your supplies in order. In this blog, we’ll explore various Cricut projects that will help you organize your craft room, making it a more pleasant and productive space.
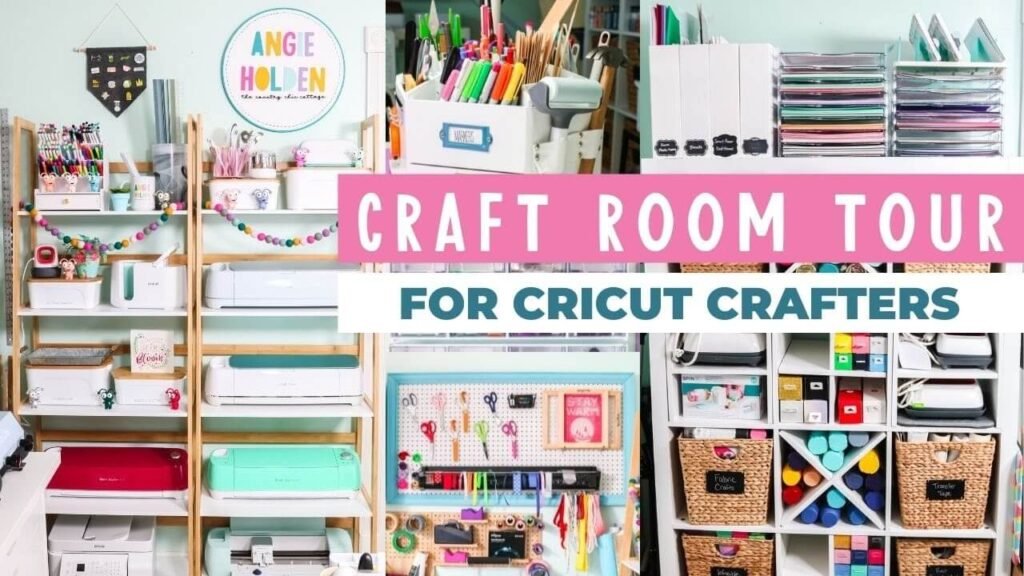
Organizing Craft Room with Cricut
Materials You’ll Need
Before you start, gather these essential materials:
- Cricut machine: Preferably the Cricut Maker or Cricut Explore series.
- Vinyl: Permanent or removable, for labeling containers and drawers.
- Cardstock: For creating tags and labels.
- Iron-on material: For fabric storage solutions.
- Transfer tape: For applying vinyl designs.
- Weeding tools: Essential for removing excess material.
- Design Space: Cricut’s design software, available on desktop and mobile devices.
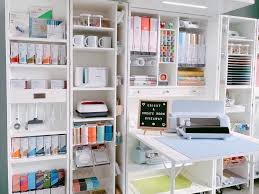
Step 1: Labeling Storage Containers
Materials Needed:
- Plastic or glass containers: For storing craft supplies.
- Permanent vinyl: Choose colors that match your craft room decor.
- Transfer tape: For applying the vinyl labels.
Steps:
- Design Your Labels in Cricut Design Space: Create custom labels for your containers, specifying the contents of each.
- Cut Your Vinyl: Use your Cricut machine to cut the labels from vinyl.
- Weed and Transfer: Weed the excess vinyl and use transfer tape to apply the labels to your containers.
- Organize Your Supplies: Fill the labeled containers with your craft supplies and arrange them in your craft room.
Step 2: Creating Drawer Dividers
Materials Needed:
- Cardstock or chipboard: For creating sturdy dividers.
- Scoring stylus: For making precise folds.
Steps:
- Design Your Dividers in Cricut Design Space: Measure your drawers and design dividers to fit.
- Cut and Score Your Dividers: Use your Cricut machine to cut and score the dividers from cardstock or chipboard.
- Assemble Your Dividers: Fold along the scored lines and assemble the dividers.
- Insert Dividers into Drawers: Place the dividers in your drawers and organize your supplies.
Step 3: Making Fabric Storage Bins
Materials Needed:
- Fabric: Choose colors and patterns that match your craft room.
- Iron-on vinyl: For labeling the bins.
- Sewing machine: To assemble the bins.
Steps:
- Design Your Storage Bins: Create a template in Design Space for your fabric bins.
- Cut Your Fabric: Use your Cricut machine to cut the fabric according to the template.
- Sew the Bins: Assemble the fabric pieces using a sewing machine.
- Label the Bins: Use iron-on vinyl to create labels for the bins and apply them with a heat press or iron.
- Organize Your Supplies: Fill the labeled bins with your craft supplies and place them on shelves or in cabinets.
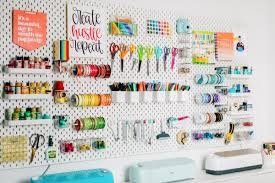
Step 4: Crafting a Pegboard Organizer
Materials Needed:
- Pegboard: A large board for hanging tools and supplies.
- Vinyl: For decorating and labeling sections of the pegboard.
- Hooks and bins: For hanging and storing items.
Steps:
- Design Your Pegboard Layout in Cricut Design Space: Plan where you want to place hooks, bins, and labels.
- Cut Your Vinyl: Use your Cricut machine to cut decorative elements and labels from vinyl.
- Apply Vinyl to Pegboard: Decorate the pegboard and label sections for different tools and supplies.
- Organize Your Tools and Supplies: Hang hooks and bins on the pegboard and organize your tools and supplies.
Tips for Success
- Measure Carefully: Accurate measurements ensure that your storage solutions fit perfectly.
- Use High-Quality Materials: Durable materials will help your organizational projects last longer.
- Label Everything: Clear labels make it easy to find and put away supplies.
Conclusion
Organizing your craft room with Cricut projects can transform your space into a more efficient and enjoyable place to create. From labeled storage containers to custom drawer dividers and fabric bins, these projects will help you keep your supplies neatly organized and easily accessible. For more project ideas and high-quality SVG files, visit SVGKingdom.com and SVGBundle.net. Happy crafting!
FAQs
1. Can I use removable vinyl for labeling storage containers?
Yes, removable vinyl is a great option if you want the flexibility to change labels in the future.
2. What type of fabric works best for making storage bins?
Sturdy fabrics like canvas or cotton work well for making durable storage bins.
3. How do I clean my Cricut cutting mat after working with fabric?
Use a scraper tool to remove leftover bits and a lint roller to pick up small particles. You can also rinse it with water and let it air dry.
4. Can I design organizational projects on my mobile device?
Yes, Cricut Design Space is available as a mobile app for iOS and Android devices, allowing you to design on the go.
5. Where can I find more organization ideas and tutorials?
For more inspiration and tutorials on organizing with Cricut projects, check out the official Cricut blog and YouTube channel. Additionally, SVGKingdom.com and SVGBundle.net offer a wide range of SVG designs to enhance your crafting projects.
Sources
For more inspiration and tutorials, check out these external links:

