Introduction
Cricut Design Space is an essential tool for anyone using a Cricut machine. This powerful, user-friendly software allows you to design, customize, and create stunning projects with ease. Whether you’re a beginner or an experienced crafter, understanding Design Space can significantly enhance your crafting capabilities. In this comprehensive guide, we’ll explore the features, tips, and tricks to help you get the most out of Cricut Design Space.
What is Cricut Design Space?
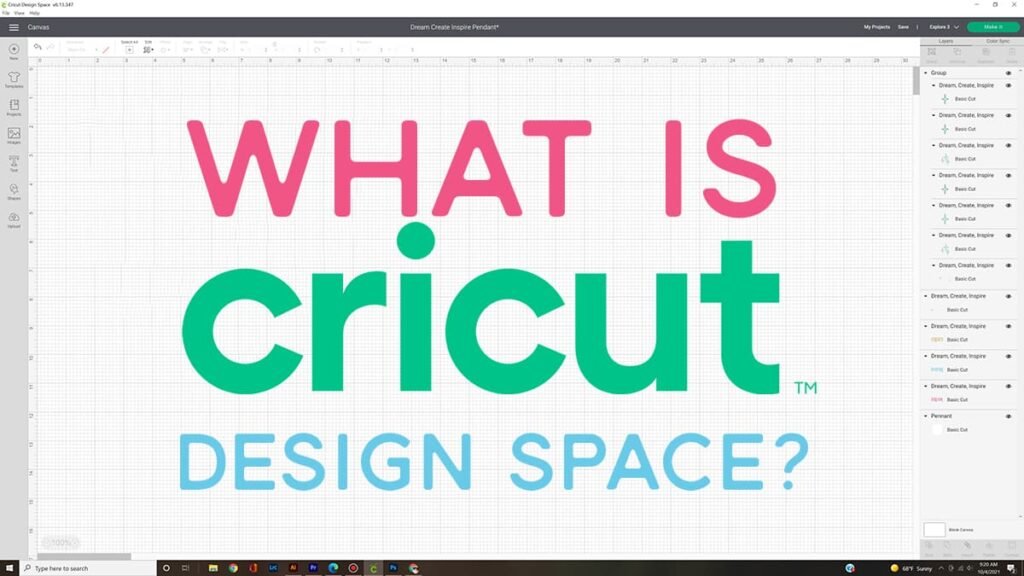
Cricut Design Space is a free, cloud-based software that works with Cricut cutting machines. It allows users to create and edit designs, which can then be cut, written, or scored on various materials. The software is available for both desktop and mobile devices, ensuring you can work on your projects wherever you are.
Getting Started with Cricut Design Space
Setting Up Your Account
To begin using Cricut Design Space, you’ll need to create a free account. Visit the Cricut website, sign up with your email, and download the software to your computer or mobile device. Once installed, log in to access the full suite of design tools.
Exploring the Interface
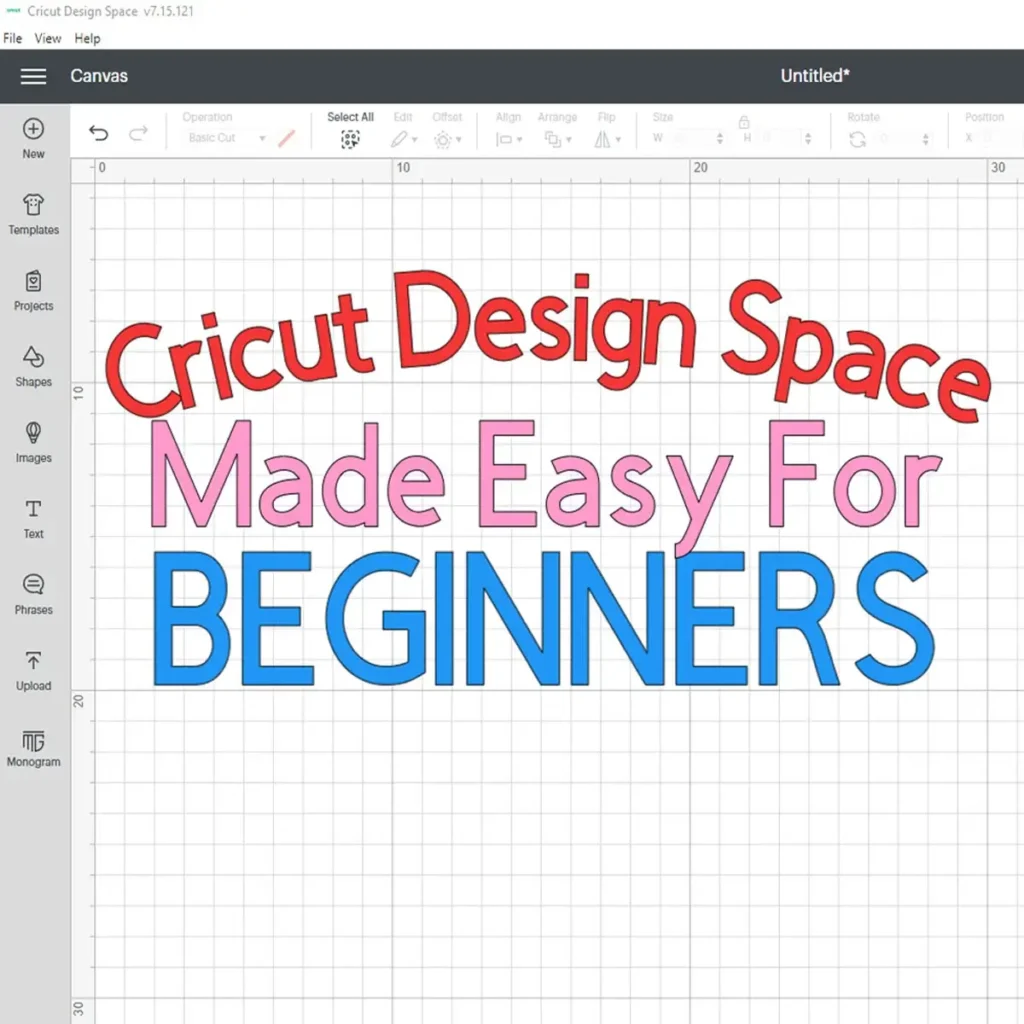
Design Space has an intuitive interface that is easy to navigate. The main screen is divided into several sections:
- Canvas: This is where you create and edit your designs.
- Toolbar: Located on the left side, it includes tools for selecting, inserting shapes, text, and images.
- Layers Panel: On the right side, it shows all the elements in your design, allowing you to arrange and manage them.
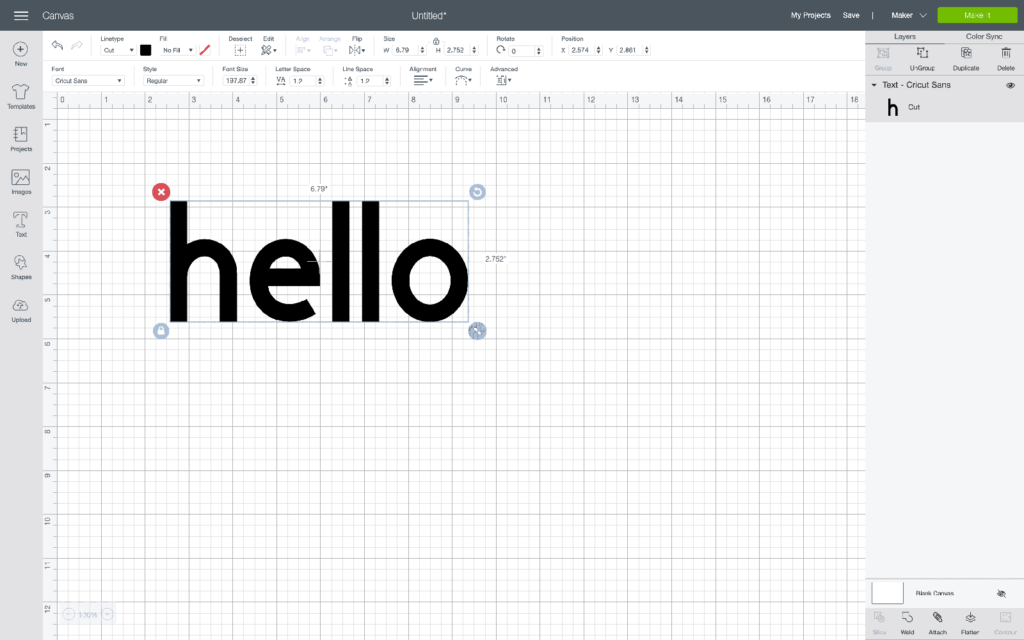
- Edit Bar: Located at the top, it provides options for modifying selected elements, such as size, color, and position.
Creating Your First Project
Using Templates
Design Space offers a variety of templates to help you get started. These templates provide a starting point for your designs, making it easier to visualize your project. To use a template, click on the “Templates” button in the toolbar, choose a category, and select a template that suits your project.
Adding Images and Text
You can add images and text to your project from the toolbar. Click on “Images” to browse the Cricut image library, which includes thousands of free and paid images. For text, click on the “Text” button, type your desired text, and customize it using the Edit Bar. You can choose from various fonts, styles, and alignment options.
Uploading Your Own Designs
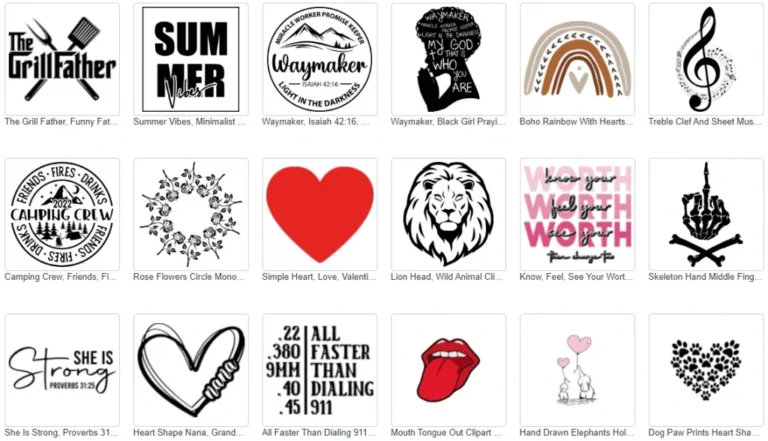
One of the powerful features of Design Space is the ability to upload your own designs. Click on the “Upload” button in the toolbar, and you can import images in various formats, such as SVG, JPG, PNG, and GIF. Once uploaded, you can edit and incorporate these images into your project.
Advanced Features and Techniques
Working with Layers
The Layers Panel is crucial for managing complex designs. Each element you add to your canvas appears as a separate layer. You can hide, duplicate, or delete layers as needed. Additionally, you can group layers to move and resize them together or ungroup them for individual editing.
Contour Tool
The Contour Tool allows you to hide or remove parts of an image. This is useful for customizing images and creating unique designs. Select an image, click the “Contour” button in the Edit Bar, and click on the parts you want to hide or remove.
Attach, Weld, and Slice
These three functions are essential for creating intricate designs:
- Attach: Keeps elements in place relative to each other during cutting.
- Weld: Joins multiple shapes or text into a single layer, removing any overlapping cut lines.
- Slice: Splits overlapping shapes or text into separate parts, allowing for more complex designs.
Tips and Tricks for Using Design Space
Use the SnapMat Feature
SnapMat is a feature available on the mobile app that allows you to see exactly where your material will cut. This is especially useful for using scrap materials efficiently. Simply take a photo of your mat with the material loaded, and position your design accordingly.
Save Projects Regularly
Design Space does not automatically save your work, so it’s important to save your projects regularly. Click on the “Save” button in the top right corner and give your project a name. You can also save versions of your project as you make significant changes.
Utilize Keyboard Shortcuts
Keyboard shortcuts can save you time and make your workflow more efficient. Some common shortcuts include:
- Ctrl+C (Cmd+C on Mac): Copy
- Ctrl+V (Cmd+V on Mac): Paste
- Ctrl+Z (Cmd+Z on Mac): Undo
- Ctrl+Shift+Z (Cmd+Shift+Z on Mac): Redo
Conclusion
Cricut Design Space is an indispensable tool for creating beautiful, personalized projects with your Cricut machine. By understanding its features and mastering its tools, you can unlock endless creative possibilities. Whether you’re making custom t-shirts, intricate paper crafts, or personalized home decor, Design Space will help you bring your vision to life. For high-quality SVG files to use in your projects, visit SVGKingdom.com and SVGBundle.net, which offer a wide variety of designs to enhance your creations. Happy crafting!
FAQs
1. Is Cricut Design Space free?
Yes, Cricut Design Space is free to use. However, some images and fonts within the software may require a purchase or a Cricut Access subscription.
2. Can I use Cricut Design Space offline?
Yes, you can use Design Space offline, but you’ll need to download the offline version and save your projects to your device beforehand.
3. What file formats can I upload to Design Space?
You can upload SVG, JPG, PNG, BMP, GIF, and DXF files to Design Space.
4. How do I share my projects with others?
You can share your Design Space projects by clicking on the “Share” button and sending a link to your project. Recipients must have a Cricut account to access the shared project.
5. Where can I find tutorials for using Design Space?
Visit the Cricut official website and YouTube channel for a wide range of tutorials and tips. Additionally, SVGKingdom.com and SVGBundle.net offer resources and design files to help you with your projects.
Sources
For more inspiration and tutorials, check out these external links:
